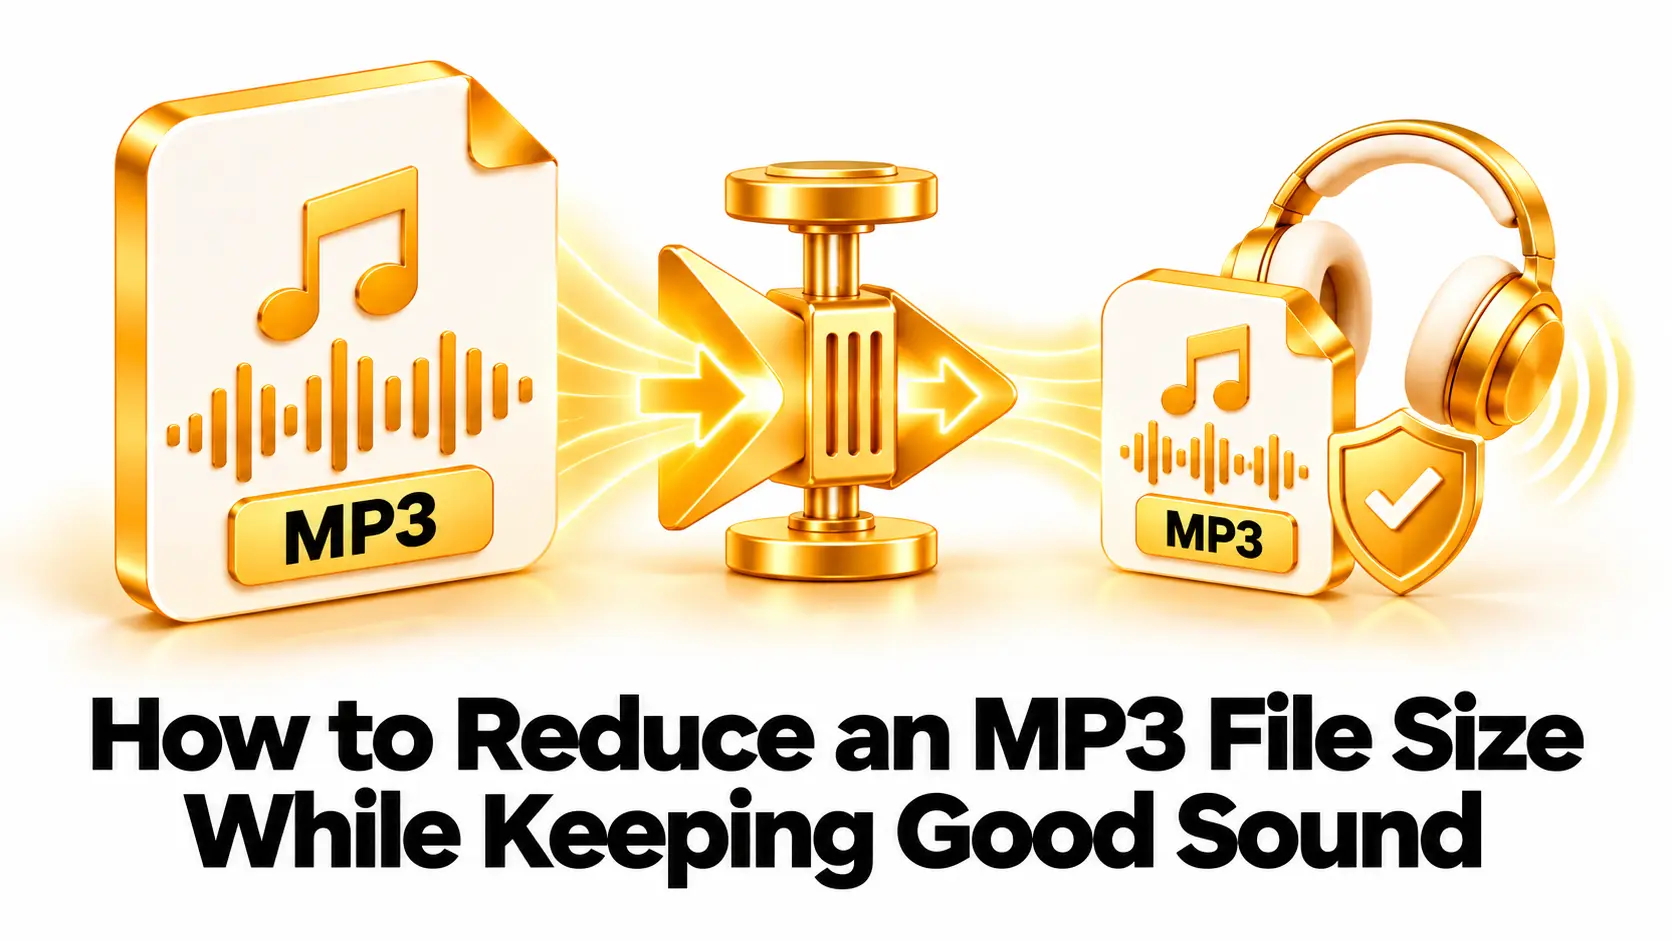
Large MP3 files can take longer to upload, send, or store on a phone. Reducing the file size makes sharing easier, but compressing too much can make music sound dull or speech harder to understand.
The best way to make an MP3 smaller is usually to adjust its bitrate or use a variable bitrate setting. You can also trim audio you do not need. The right choice depends on what the recording contains, how you plan to listen, and how small the file needs to be.
This guide explains what affects MP3 size, how to change common settings, and how to check the result. A short test export can help you find a good balance between a smaller file and sound that remains clear.
What Affects MP3 File Size?
The main factors are the audio’s length and bitrate. A longer recording contains more sound, so it generally needs more storage. A higher bitrate uses more data for each second of audio, usually making the file larger.
For example, a five-minute MP3 encoded at 320 kilobits per second may be around 12 MB, while the same length at 128 kilobits per second may be around 4.8 MB. These are estimates. The exact size can vary with the encoder, variable bitrate settings, metadata, and the audio itself.
Other factors can affect size too, including whether the audio is mono or stereo, the encoding method, and the amount of metadata such as track title and album artwork. Metadata usually takes less space than the audio data, so changing it alone may not make a large file noticeably smaller.
MP3 uses lossy compression. It reduces file size by removing some audio information. Once that information has been removed, converting the MP3 to another format cannot restore it. Learn more about how the format works in Wikipedia’s overview of MP3.
Understand MP3 Bitrate
Bitrate measures how much data is used to encode each second of audio. It is usually shown as kilobits per second, or kbps. A higher bitrate generally means a larger file and can preserve more sound detail. A lower bitrate can produce a smaller file, but the difference may be more noticeable in complex music than in simple speech.
Some encoders offer constant bitrate (CBR), variable bitrate (VBR), or average bitrate settings. CBR uses a steady bitrate throughout the track. VBR adjusts the bitrate based on how complex the sound is at different moments. It may use more data for detailed passages and less for simpler ones, which can help balance size and quality.
There is no one bitrate that is best for every MP3. A voice recording intended for a quick message has different needs from a music track that will be played through good headphones. Start with a reasonable setting, listen to the result, and adjust it if the file still needs to be smaller.
Choose a Bitrate for Your Audio
Use the table below as a starting point, not a guarantee. The result depends on the original recording, the encoder, and your own listening needs.
| Audio use | Possible starting point | What to consider |
|---|---|---|
| Voice notes or simple speech | About 96–128 kbps | Listen for muffled words or noisy backgrounds. |
| Podcasts and spoken content | About 128 kbps | Mono may be suitable if the source is a single voice. |
| General music listening | About 192 kbps or higher | Compare a short sample before reducing the bitrate further. |
| High-detail music or a listening copy | About 256–320 kbps | Expect larger files; keep the original source for best results. |
These example values are commonly used starting points, but they do not guarantee a certain sound quality. Some voices remain clear at lower bitrates, while busy music or sound effects may show compression artifacts sooner. If you are unsure, export a short section at two settings and compare them on the headphones or speakers you normally use.
Other Ways to Reduce MP3 Size
Trim audio you do not need
If the recording has long silence at the beginning or end, trim those sections before saving. Removing unused parts reduces the duration and therefore the file size. Keep enough space around speech or music so you do not cut off a word, breath, or note.
Consider mono for suitable speech
If a recording contains one person speaking and does not need stereo effects, a mono file may be a practical option. It can use less data than stereo at similar settings. Do not switch music or stereo recordings to mono without checking how they sound; instruments and effects placed across channels may change.
Use VBR when your tool supports it
Variable bitrate encoding can allocate data based on how complex each section of audio is. Depending on the encoder and quality setting, it may create a smaller file than a constant bitrate export while keeping the sound suitable for listening. Compare the output rather than assuming VBR will always be smaller or better.
Remove unnecessary artwork or metadata
Album artwork, comments, and other metadata can add to a file’s size, particularly when artwork is embedded at a high resolution. Removing information you do not need may reduce the file slightly. This usually has a smaller impact than changing bitrate or trimming audio.
How to Reduce an MP3 File Size
- Keep a copy of the original. Save the current MP3 before changing it. If the compressed version sounds poor, you can return to the original.
- Choose a trusted audio tool. Use reputable desktop software or an online audio converter. For a browser-based option, visit Convertig and select the relevant audio conversion or compression tool if available.
- Add the MP3 file. Confirm that you selected the right track and that it plays before making changes.
- Select an MP3 output setting. Choose a lower bitrate or a quality preset that matches how you will use the audio. Consider VBR if the tool offers it.
- Trim or change channels only when suitable. Remove silence or select mono only if those changes make sense for the recording.
- Export a short test. If your software allows it, compress a representative section first. Include speech, music, or other sounds that matter in the final file.
- Listen to the test. Check for muffled voices, rough high notes, distortion, or missing stereo detail. If it sounds good, apply the settings to the full track.
- Check the new file size. Compare it with the original and decide whether the reduction is enough for your sharing or storage needs.
- Save it with a different name. Keep the original MP3 until you are sure the smaller copy works as expected.
If your starting file is WAV or another high-quality source, encode it once as MP3 using the bitrate and quality you need. If your starting file is already MP3, lowering its bitrate means encoding a lossy file again. The result can become smaller, but it may also lose additional detail.
How to Keep Sound Quality Good
Start from the best source available. If you have the original WAV, recording, or project export, use that instead of re-encoding an MP3. The original may contain audio details that an earlier MP3 conversion removed.
Make the size change gradually. If the file is too large, try a modest bitrate reduction first. A very low setting can make music sound watery or rough and can make speech less clear.
Test the sound you care about most. For speech, listen for clear consonants and steady volume. For music, listen to busy sections, cymbals, high notes, bass, and stereo effects. A quiet introduction alone may not reveal compression problems.
Use the same listening setup for comparisons. Play the original and compressed sample through the same device at a similar volume. A much louder version can seem better even when it has less detail, so keep volume levels reasonably similar.
Keep an uncompressed or lossless master when possible. If you may need another MP3 later, preserve the source recording. You can create new listening copies from the master rather than repeatedly compressing the same MP3.
Common Compression Mistakes
Choosing the lowest bitrate immediately: this may make the file small, but can cause noticeable loss in music and detailed audio. Test a moderate setting before reducing quality further.
Converting MP3 to WAV to “improve” it: changing the extension or format does not restore information removed by MP3 compression. WAV can be useful for editing, but a WAV created from MP3 will still be based on the MP3 audio.
Encoding the file repeatedly: each lossy conversion can remove more detail. Keep a source copy and create the smaller version from the best available source.
Changing stereo to mono without listening: this may reduce size, but it can alter music or recordings that rely on left-right placement. Check the output before replacing or sharing the original.
Using file size as the only quality test: a smaller file is not automatically a better result. Listen for clarity and make sure the audio is suitable for its intended use.
Frequently Asked Questions
What is the fastest way to make an MP3 smaller?
Lowering the bitrate or choosing a lower quality preset is often the quickest method. You can also trim sections you do not need. Listen to the output to make sure the sound remains acceptable.
Does lowering an MP3 bitrate reduce sound quality?
It can. A lower bitrate uses less data, which may remove more audio detail. The change may be subtle for some speech but more noticeable in complex music. Test the output before using it.
What bitrate should I use for a smaller MP3?
There is no universal setting. Speech may work at a lower bitrate than music, while a track meant for detailed listening may need a higher one. Start with a moderate setting and compare a sample.
Can I reduce an MP3 size without converting it?
You can trim the track, remove unneeded metadata or artwork, or change stereo to mono where appropriate. For a significant reduction in the audio data itself, you will usually need to re-encode it, which can affect quality.
Will converting MP3 to WAV make it sound better?
No. WAV may create a larger file, but converting an MP3 to WAV cannot restore audio information removed during MP3 encoding.
Why did my compressed MP3 become larger?
The selected bitrate may have been higher than the original, or the conversion may have added metadata. Check the input and output settings and make sure the tool is exporting the format and quality you intended.
Final Checklist
To reduce an MP3 while keeping good sound, start with the best source available, choose a suitable bitrate, and trim only audio you do not need. Use a short test to compare the result, especially if the recording contains music or detailed sounds. Save the smaller file separately and keep the original until you are satisfied.
For everyday sharing, a moderate MP3 setting may provide a useful balance between size and clarity. If you need a production master or expect to edit the audio again, keep an original WAV or other high-quality source as well.