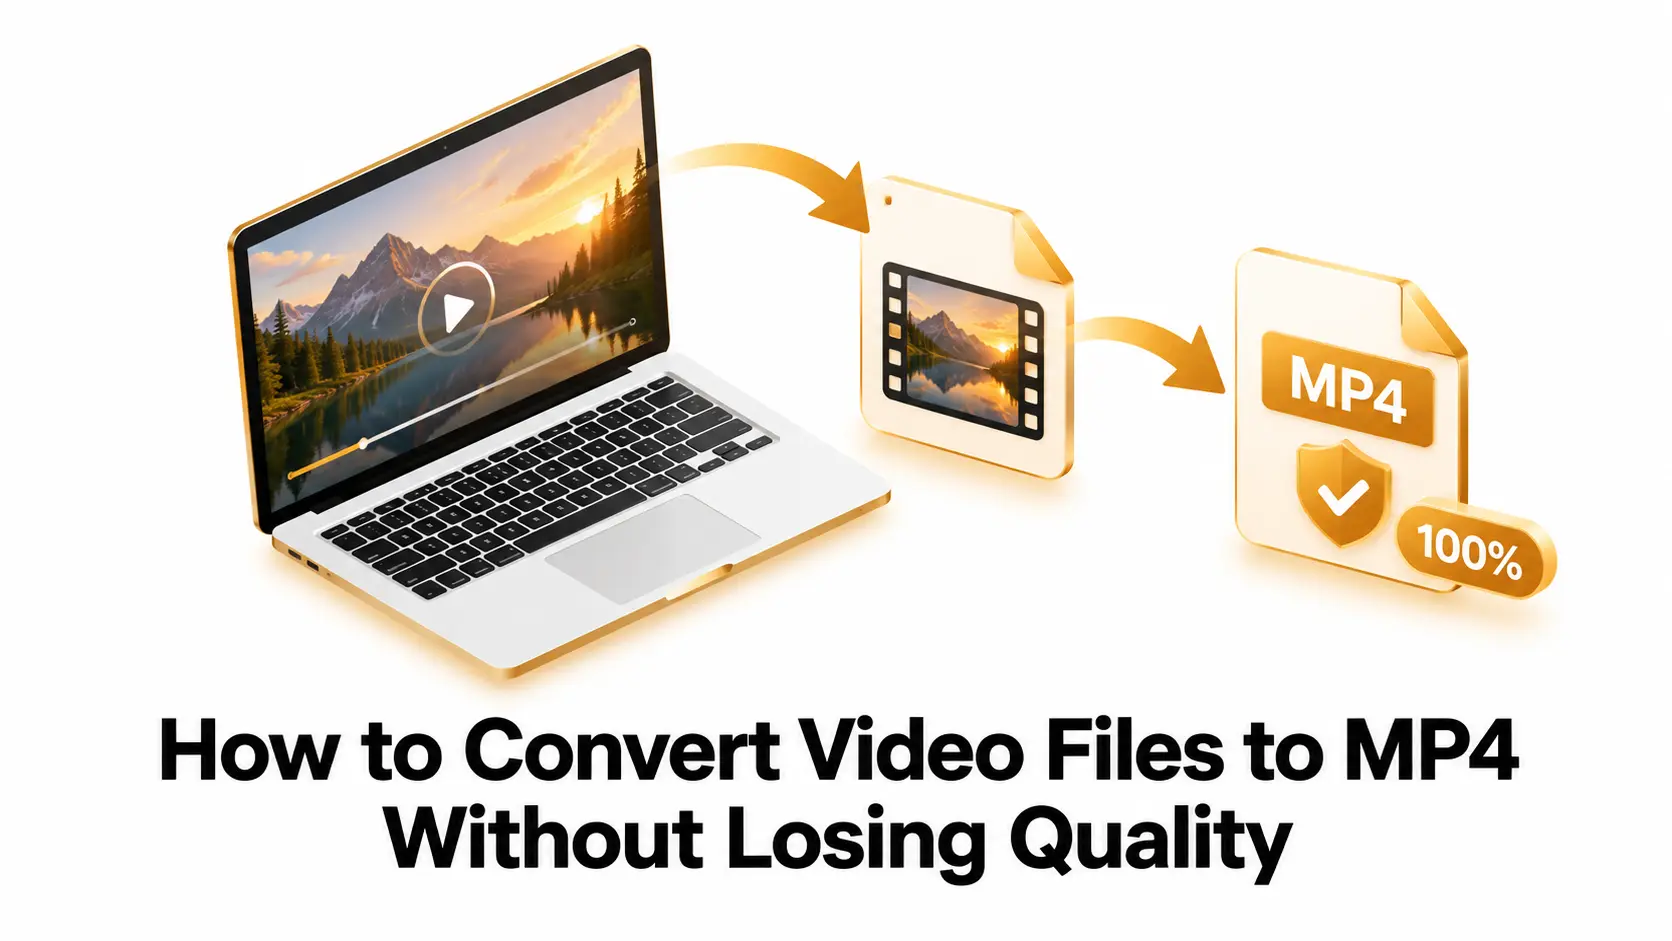
MP4 is one of the most widely supported video formats. It works on phones, computers, TVs, websites, and many editing apps. Converting a video to MP4 can make it easier to share or play, but a poor conversion may soften the picture, create blocky areas, or reduce sound quality.
You can often preserve the original quality by choosing a suitable conversion method and avoiding unnecessary re-encoding. If the video and audio streams are already compatible with MP4, a process called remuxing can place them in a new container without compressing them again.
When the original codecs are not compatible with your target device, the video may need to be re-encoded. This can cause some quality loss, especially if you use a low bitrate or convert the same video repeatedly. Choosing careful settings helps keep the finished MP4 looking and sounding good.
This beginner-friendly guide explains how to check your original video, choose the right MP4 settings, convert it step by step, and avoid common quality problems. For a general explanation of the format, see the MP4 file format on Wikipedia.
Table of Contents
- Can You Convert a Video Without Losing Quality?
- Check the Original Video Before Converting
- Choose a Quality-Preserving Conversion Method
- Recommended MP4 Settings
- How to Convert a Video to MP4 Step by Step
- Tips to Avoid Common Quality Problems
- Why Does the Converted MP4 Look Worse?
- Frequently Asked Questions
- Final Checklist
Can You Convert a Video Without Losing Quality?
Sometimes, yes. If the video and audio inside the original file already use codecs supported by MP4, a converter may be able to remux them. Remuxing copies the existing streams into a new container without changing the encoded picture or sound. Because the streams are not compressed again, remuxing does not cause another generation of quality loss.
MP4 is a container, not a single video compression method. A container holds video, audio, subtitles, and related information. The video and audio streams inside it use codecs. Some MP4 files may contain codecs that a particular phone, browser, or television cannot play, so check the needs of your target device.
If the source codecs are not compatible, the video needs to be re-encoded. Re-encoding decodes the original stream and compresses it again. This can reduce quality, particularly when the output bitrate is too low or the same video is converted repeatedly. A carefully configured conversion can make the difference difficult to notice, but a lossy re-encode cannot guarantee mathematically identical quality.
Check the Original Video Before Converting
Before choosing settings, inspect the source video. Note its resolution, frame rate, video codec, audio codec, and approximate bitrate. These details help you avoid settings that unnecessarily reduce quality. For example, a 4K recording at 60 frames per second should not be converted to 720p at 24 frames per second unless you specifically want a smaller, lower-resolution file.
You can view file details in many media players or video editors. A media information utility can also show stream properties. Write down the original values before starting, especially if the video is important. If you are unsure which values to use, keeping the original resolution and frame rate is a safe starting point.
- Resolution: the dimensions of the picture, such as 1920 × 1080.
- Frame rate: the number of frames shown each second, such as 30 fps.
- Codec: the method used to encode video or audio, such as H.264 or AAC.
- Bitrate: the amount of data used each second. It affects file size and can affect visible quality.
Choose a Quality-Preserving Conversion Method
Option 1: Remux when the streams are compatible
Remuxing is a good choice when you only need to change the container, such as moving a video from MKV to MP4, and the existing streams are supported by your target devices. The converter copies the encoded video and audio into a new container. This is usually fast, keeps the file close to its original size, and does not reduce the encoded stream quality.
Remuxing cannot make an unsupported codec compatible. If playback compatibility is the reason for converting, confirm that the target device supports the codecs inside the finished MP4. If it does not, re-encoding to a widely supported combination, such as H.264 video and AAC audio, may be necessary.
Option 2: Re-encode with a high-quality setting
If you need to change the codec, reduce the file size, or fix compatibility, re-encode the video once from the best-quality source available. H.264 is a practical choice for broad device support. Use another codec only when your playback devices and editing workflow support it.
Choose a quality-based setting when your converter provides one, and avoid an aggressively low bitrate. Higher quality settings generally create larger files. Do not convert an already compressed video several times. Each lossy encode can discard detail that cannot be restored by later conversions. Keep the original as your master, create the MP4 from that file, and save the result separately.
Recommended MP4 Settings
The right settings depend on the original footage and where you plan to watch or publish it. For a general-purpose MP4, H.264 video with AAC audio is a practical compatibility choice. Keep the original frame size and frame rate unless you have a clear reason to change them. A converter’s “same as source” or “automatic” option can help, but review the output settings before you start.
| Setting | Good starting point | Why it matters |
|---|---|---|
| Container | MP4 | Widely supported for playback and sharing. |
| Video codec | H.264 for broad compatibility | Supported by many common devices and apps. |
| Audio codec | AAC | A common choice for MP4 audio. |
| Resolution | Match the source | Prevents unwanted downscaling or upscaling. |
| Frame rate | Match the source | Preserves the original motion cadence. |
| Quality or bitrate | High quality; avoid very low values | Too much compression can create blur and artifacts. |
There is no single bitrate that is perfect for every video. A fast-moving sports scene, detailed foliage, and animation compress differently. If your software offers a quality slider, make a short test using a scene similar to the full video. If it offers only a bitrate field, choose a value appropriate to the resolution and motion, then inspect the result before converting a large collection.
How to Convert a Video to MP4 Step by Step
- Keep a copy of the original. Save the source somewhere safe before changing formats. This gives you a clean file to return to if the output needs adjustment.
- Open a trusted converter. Use a reputable desktop program or web-based converter that clearly explains its options. For a browser-based workflow, visit Convertig and choose the relevant video conversion tool if available.
- Add the source video. Select the file you want to convert. Check that you chose the correct recording, particularly if several files have similar names.
- Select MP4 as the output format. Choose remuxing or stream copy when it is supported and suitable. Otherwise, select a high-quality encode.
- Preserve the original dimensions and frame rate. Change them only if you intentionally need a smaller or differently paced video.
- Set audio carefully. Keep the original audio stream when compatible. If it must be converted, AAC is a common MP4 choice. Listen to the beginning and end to check that the sound remains in sync.
- Run a short test. Convert a brief section first if the software allows it. Look at scenes with movement, shadows, fine details, and text. Listen for distortion or synchronization problems.
- Convert and verify the finished file. Play the MP4 from beginning to end or sample several points. Check its resolution, duration, audio, and playback on the device or app you care about.
Tips to Avoid Common Quality Problems
Start with the highest-quality source. A small, low-resolution video cannot be turned into a sharp original simply by selecting a larger output size. Upscaling increases dimensions but does not restore missing detail. When possible, use the original camera file or the best available export.
Avoid needless resolution changes. Converting 1080p footage to 4K does not add real detail, while converting it to a much smaller frame can make it look soft on a large screen. Keep the source resolution unless storage, bandwidth, or a platform requirement calls for a change.
Do not lower the quality setting just to shrink the file. Strong compression can cause blockiness, smearing during movement, banding in gradients, and loss of fine texture. If the file is too large, adjust quality in small steps and compare the output. Consider whether a smaller frame size is acceptable before choosing extreme compression.
Keep the original frame rate. Changing frames per second can make motion look uneven or alter the duration. Change it only when there is a particular delivery requirement.
Check audio and subtitles. Some converters omit subtitle tracks, metadata, chapters, or multiple audio languages. If these matter, confirm that the output settings preserve them. Play the video with headphones and check lip sync, volume, and background sound.
Use a stable connection for online tools. Large uploads can take time, and interrupted transfers may fail. Check the service’s file-size limits and privacy information before uploading personal or confidential recordings. For sensitive footage, an offline converter may be a better fit.
Why Does the Converted MP4 Look Worse?
Quality loss usually comes from re-encoding at a lower quality level, reducing the resolution, changing the frame rate, or converting a file that was already heavily compressed. A preview player may also show a lower-resolution preview while the full file is processing. Confirm the exported file’s properties and play it in another reliable player before deciding that the conversion failed.
If the image looks blocky, try a higher quality setting or bitrate. If details look soft, verify that the output resolution matches the source and that the converter did not apply a low-quality resize. If motion looks strange, compare frame rates. If audio is out of sync, try another converter or check whether the source has a variable frame rate.
Frequently Asked Questions
Does changing a video file extension to .mp4 convert it?
No. Renaming a file changes its name, not its container or codecs. A file renamed with an MP4 extension may fail to open. Use a converter to remux compatible streams or re-encode them when necessary.
Is MP4 always better than MKV or MOV?
No format is best for every situation. MP4 is convenient for broad compatibility, while other containers may support different features or workflows. Choose the format that fits the device, editor, website, or archive you are using.
Will converting to MP4 make the file smaller?
Not automatically. Remuxing usually keeps the streams nearly the same size. Re-encoding can make a file smaller, but reducing size often means increasing compression and may reduce picture or audio quality.
Which MP4 codec should I use?
H.264 video and AAC audio are common starting points for compatibility. If your device or platform recommends different codecs, follow that guidance and test a short export.
Can I get better quality than the original?
A converter cannot recreate details that are absent from the source. Some tools can sharpen or upscale footage, but those effects change the image and do not recover the original captured information.
Final Checklist
To convert a video to MP4 while keeping it looking and sounding as good as possible, begin with the best source file, remux when the existing streams are compatible, and otherwise make one high-quality encode. Preserve the original resolution, frame rate, and audio where practical. Test the output, check playback on your target device, and keep the source until you are satisfied.
These checks help you avoid unnecessary quality loss, oversized files, and playback problems. Choose settings for your actual use case, because a video for a phone may need different size trade-offs from an archive or a large-screen presentation.