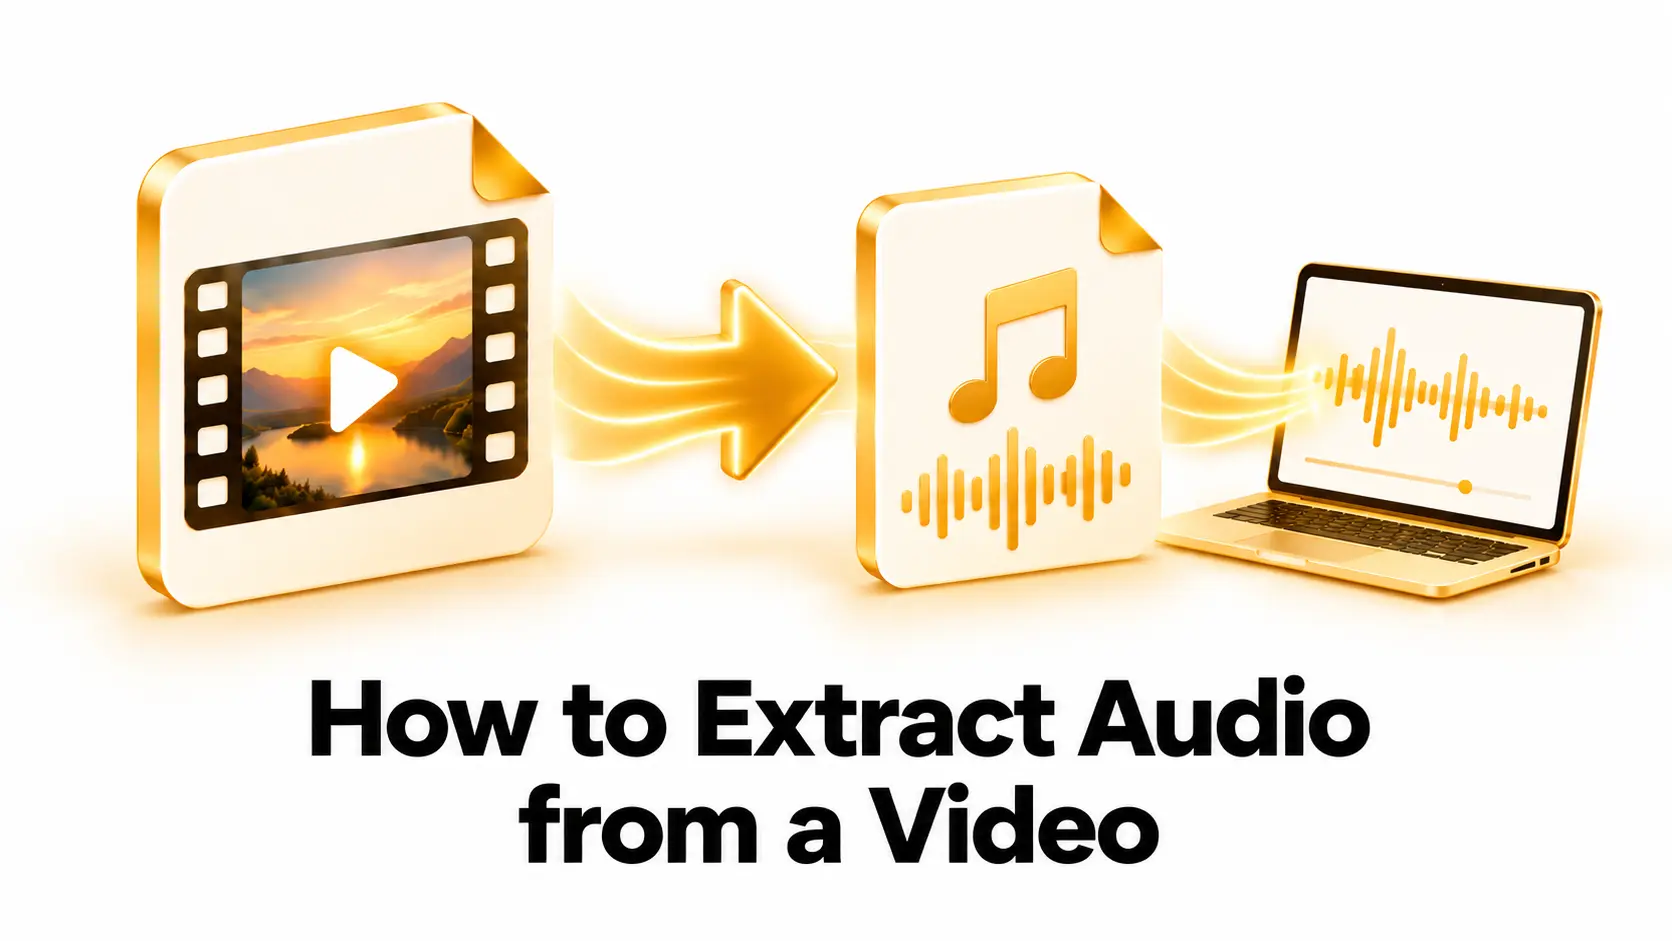
A video often contains sound you may want to use on its own. You might want to listen to a recorded speech, save narration from a presentation, make a podcast draft, or keep the audio from a video you created. Extracting audio separates the sound from the picture and saves it as an audio file.
The process is usually simple: add a video to a converter, choose an audio format, adjust quality settings, and save the result. The right format depends on how you plan to use the audio. MP3 is convenient for everyday listening, while formats such as WAV can preserve uncompressed audio at the cost of a larger file.
This guide explains how audio extraction works, which formats to consider, and how to get a clear result. Only extract audio from videos you own or have permission to use, and respect copyright and platform rules.
What Does Extracting Audio Mean?
A video file can contain several types of data, including pictures, sound, subtitles, and metadata. An audio extraction tool takes the sound track from the video and saves it as a separate audio file. The video and its picture are left out of the new file.
In some cases, a tool can copy the original audio stream without changing how it is encoded. This is sometimes called stream copying or audio stream extraction. It can be fast and avoid an additional quality change, provided the output container supports that audio format.
Other tools decode the original audio and encode it into a new format, such as MP3 or AAC. This is useful when you need a format that works on your device or in an audio editor. If the new format uses lossy compression, some audio data may be removed. The result can still sound clear, but converting the same audio repeatedly may reduce quality over time.
Audio quality also depends on the sound in the original video. If the recording has background noise, low volume, or distortion, simply extracting it will not automatically fix those problems. Learn more about common audio formats in Wikipedia’s overview of audio file formats.
Choose an Audio Format
The best output format depends on whether you value compatibility, small file size, or editing flexibility. Before converting, consider where you will play or edit the audio and whether you need to share it with other people.
| Format | Best for | Things to know |
|---|---|---|
| MP3 | Everyday listening and sharing | Widely supported and usually compact; uses lossy compression. |
| AAC | Phones, apps, and many video workflows | Commonly supported; quality and size depend on its settings. |
| WAV | Editing and keeping an uncompressed audio copy | Often creates much larger files than compressed formats. |
| FLAC | Lossless storage in supported audio apps | Compresses audio without discarding data, but support varies by device. |
For a small file that is easy to play on many devices, MP3 is a practical choice. If you plan to edit the audio and want to avoid adding lossy compression, WAV or FLAC may be more suitable when your software supports them. For details about MP3, see Wikipedia’s MP3 overview.
Understand Audio Quality Settings
When you choose a compressed format, the converter may show a bitrate setting. Bitrate describes how much data is used to represent each second of audio. A higher bitrate usually creates a larger file and can retain more detail, while a lower bitrate makes a smaller file but may make the sound less clear.
The best setting depends on the content. Speech may remain understandable at a lower bitrate than music with many instruments or detailed high-frequency sounds. If the converter offers quality presets, choose a medium or high setting first and listen to the result before reducing it further.
Sample rate and channel settings may also appear. The sample rate affects how audio is represented over time, while channels indicate whether the audio is mono or stereo. Keep the original settings unless you have a reason to change them. For spoken audio, mono may be acceptable if the source is already mono. Music and recordings with spatial detail may benefit from stereo.
Remember that a larger output file does not automatically mean better sound. If the source audio is already compressed, exporting it at a much higher bitrate cannot restore information that has already been removed. It may only make the new file larger.
How to Extract Audio from a Video
- Choose a video you are allowed to use. Use your own recording or a video for which you have permission to extract and use the audio.
- Open a trusted converter. Use reputable desktop software or an online conversion tool. For a browser-based option, visit Convertig and select the relevant video-to-audio tool if available.
- Add the video file. Select the correct video from your device. Check the filename and duration so you do not convert the wrong recording.
- Select an audio output format. Choose MP3 for convenient playback and sharing, or a lossless or uncompressed format if you need a larger editing file and your software supports it.
- Review the quality settings. Choose a suitable bitrate or quality preset. Keep the source sample rate and channels when possible.
- Start the extraction. The process may take a few seconds or longer, depending on the video length, file size, and tool.
- Play the audio file. Listen to the beginning, middle, and end. Check that the sound is clear, the full track was included, and the audio begins and ends where you expect.
- Save and name the file. Use a descriptive filename so you can find the extracted audio later. Keep the original video if you might need to extract it again with different settings.
If you need only a section of the soundtrack, trim the video or audio before exporting when your tool allows it. This can save time and create a smaller file. Preview the start and end points to make sure the cut does not remove a word, note, or sound you need.
How to Preserve Audio Quality
Start with the best source video. A clean original recording gives you the best chance of getting clear extracted audio. A converter cannot fully remove noise or restore missing details just by changing the output format.
Avoid repeated conversions. Each lossy conversion can discard more audio information. Extract the audio once from the original video, then use that extracted file for listening or editing. Keep the original video as a backup.
Use a suitable output format. MP3 is convenient when compatibility and small file size matter. Choose WAV or FLAC for workflows that need uncompressed or lossless audio, while remembering that some devices or apps may not support every format.
Choose sensible quality settings. Do not set the bitrate very low if you want music or detailed sound to remain clear. If file size matters, compare a short sample at a few quality levels and pick the smallest file that still sounds good for your use.
Listen with headphones or speakers. A quick check can reveal clipped words, missing sections, background noise, or a sudden change in volume. Listen at a comfortable level and check the entire file if the audio is important.
Keep useful audio tracks. Some videos include several languages, commentary tracks, or separate audio streams. If your converter offers a track selector, confirm that you chose the correct one before saving the output.
Common Problems and Fixes
The extracted file has no sound: check whether the original video contains an audio track and whether the correct track was selected. Try another player to make sure the file is not playing silently because of a device setting.
The audio sounds muffled or distorted: review the quality or bitrate setting and try a higher-quality export. If the original recording already sounds poor, use an audio editor to make careful adjustments rather than expecting format conversion to fix it.
The beginning or end is missing: check whether the tool trimmed the file or whether the video has a delay before the audio begins. Try extracting the full track again and preview the output from start to finish.
The file is too large: choose a compressed format such as MP3, reduce the bitrate moderately, or trim sections you do not need. Make sure the smaller file still sounds acceptable for its purpose.
The output will not open: confirm that you selected a format supported by your device or audio app. Try a widely supported option such as MP3, or use a player that supports the format you exported.
When Is Audio Extraction Useful?
Extracting audio can help when you want to listen to spoken content without watching the video. For example, you could save narration from a presentation, a lecture you recorded, or an interview you own. Listening to a separate audio file may also be convenient during a commute or while working on another task.
Creators may extract audio from their own videos to review narration, prepare a podcast draft, or edit sound separately. A separate track can make it easier to clean up speech, adjust levels, or add the audio to a project. Keep any source files you may need for future edits.
Audio extraction does not grant permission to reuse someone else’s recording. Before publishing, remixing, or distributing extracted audio, check ownership, licenses, and the rules of the platform where you plan to share it. If the audio contains copyrighted music or other protected content, get permission or use audio that is licensed for your intended use.
Frequently Asked Questions
Can I extract audio from a video without losing quality?
Sometimes. If the tool copies the original audio stream without re-encoding it, it can avoid another compression step. If the audio is converted to a lossy format such as MP3, some information may be removed depending on the source and settings.
Which format should I choose for extracted audio?
MP3 is a convenient option for small files and broad playback support. WAV or FLAC may suit editing or lossless storage if your devices and software support them.
Can I extract only part of the audio?
Yes, if your converter or audio editor includes trimming options. Set the start and end points, then preview the selected section before exporting.
Does extracting audio reduce the video file size?
It creates a separate audio file. It does not necessarily change or shrink the original video. If you no longer need the video, you can manage or delete it yourself after checking that the audio file works.
Can I extract audio on a phone?
Some mobile apps and browser-based tools can extract audio from a video. Check the app’s supported formats, file-size limits, and privacy information before selecting a tool.
Can I use extracted audio in a new video?
You can use audio you own or have permission to reuse. Check the license and any platform rules before using someone else’s music, speech, or sound recording.
Final Checklist
To extract audio from a video, start with a video you are allowed to use, select a suitable audio format, and choose quality settings for your needs. Export the track, then listen to it and check that the full sound is present. Keep the original video until you are sure the audio file is correct.
MP3 is a practical choice for everyday listening and sharing. WAV or FLAC may be better for editing or lossless storage when your workflow supports them. A short preview can help you find a good balance between file size, compatibility, and sound quality.