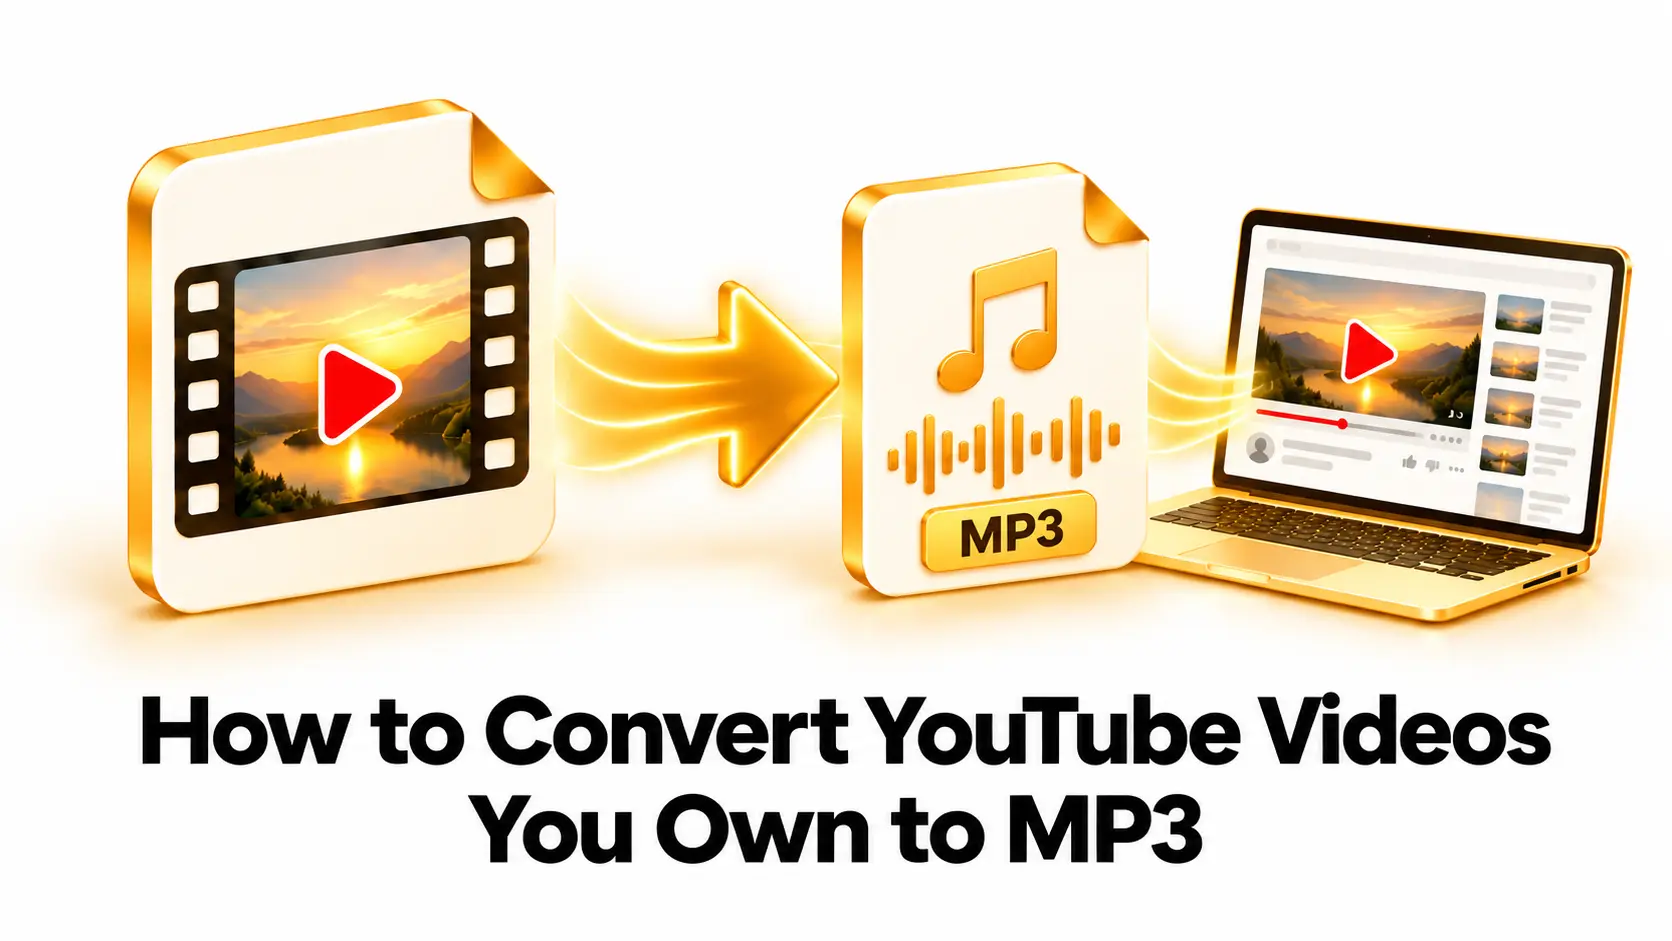
If you uploaded a video to your own YouTube channel, you may want to save its audio as an MP3. This can be useful for listening to your narration, reviewing a podcast recording, or keeping an audio copy of a presentation you made.
The process has two main steps: download a copy of your own upload, then extract its audio with a converter. If you still have the original video on your computer or phone, use that file when possible. A copy downloaded from YouTube may have different resolution or quality from the original file you uploaded.
This guide explains how to get your own video, convert it to MP3, choose suitable audio settings, and check the result. Use these steps only for videos you own or have permission to use. Do not use them to download or extract other people’s videos without permission.
What You Need Before Converting
Before you start, make sure you can access the YouTube account that uploaded the video. You will also need enough storage space for the downloaded MP4 and the finished audio file. Longer videos and high-quality recordings can take up more space.
If you still have the original video file from your camera, phone, or editing program, use it instead of downloading a copy from YouTube. Your original may preserve more audio detail and may be at a higher quality than the version available through the download option.
You also need an audio converter that accepts your video format and can export MP3. You can use a trusted desktop program or a web-based tool. For a browser-based option, visit Convertig and select the relevant video-to-audio tool if available.
- Access to the account that uploaded the video
- The original video file, if you still have it
- Enough device storage for the video and MP3
- A reputable converter that supports the video and audio formats
Download a Video You Uploaded
YouTube provides a way for creators to download videos they uploaded. Start by signing in to the Google account connected to your channel and opening YouTube Studio. Find the video in your channel’s content list, open its available options, and choose the download option if it is available for that video.
Menu names and locations can change, so follow the current directions in YouTube’s official instructions for downloading videos you uploaded. The download is a copy for your use, not necessarily the original file that you first uploaded.
YouTube’s help information states that Studio downloads are MP4 files in 720p or 360p, depending on video size. That may be lower than the original resolution. If you want the best audio source for conversion, check your computer, phone, camera card, or editing project for the original file before using the Studio copy.
After the download completes, find the MP4 on your device and note its filename and location. Keep it in a folder you can find easily. Do not rely on a streaming video link as your source file; use the video file you are authorized to download and convert.
Choose an Audio Format
MP3 is a common choice for listening and sharing because it is supported by many phones, computers, music players, and audio apps. It uses lossy compression, which means some audio information is removed to make the file smaller. At a suitable quality setting, MP3 can still sound clear for speech and everyday listening.
Other formats may suit different purposes. AAC is used in many digital media workflows and can provide compact audio. WAV is typically uncompressed and useful for editing, but it creates larger files. FLAC keeps audio data without lossy compression, though some devices and apps may not support it.
| Format | Useful for | Trade-off |
|---|---|---|
| MP3 | Listening and sharing | Compact and widely supported; uses lossy compression. |
| AAC | Phones and media workflows | Compact, but support depends on the device or app. |
| WAV | Audio editing | Often uncompressed and much larger. |
| FLAC | Lossless audio storage | Preserves audio data, but support varies. |
If your goal is a convenient file for listening, MP3 is usually a practical option. If you plan to edit the recording and want to avoid additional lossy compression, consider WAV or FLAC if your workflow supports them. Learn more about the format in Wikipedia’s overview of MP3.
How to Convert Your Video to MP3
- Locate your video file. Choose the original recording when available. Otherwise, use the MP4 copy you downloaded from your own YouTube account.
- Open a trusted converter. Use reputable software or a web-based conversion tool. Check its file limits and privacy information before uploading a personal recording.
- Add the video file. Select the MP4 from your device and confirm that it is the video you intended to convert.
- Select MP3 as the output format. Check that you are exporting audio rather than converting the video to another video format.
- Choose an audio quality setting. A medium or high quality preset is a reasonable starting point for everyday listening. Avoid the lowest setting if clear speech or music matters.
- Start the conversion. The time required depends on the video’s length, file size, and the tool you are using.
- Play the MP3. Listen to the beginning, middle, and end. Make sure the right audio was extracted and that the file is not cut off.
- Save the file with a clear name. Use a filename that helps you identify the recording later, such as the video title followed by “audio.”
If you need only one part of the video, trim the video or audio before saving when your software offers that option. Set the start and end points carefully, then preview the section so you do not cut off a word, pause, or sound you want to keep.
Choose MP3 Quality Settings
Many converters let you choose an MP3 bitrate or quality preset. Bitrate describes how much data is used to represent each second of audio. Higher bitrates usually create larger files and can preserve more detail. Lower bitrates reduce file size, but they may make music sound less clear or speech sound rough.
The right setting depends on the material. Spoken narration may remain easy to understand at a lower setting than music with instruments, background sounds, or subtle details. If you are unsure, begin with a medium or high quality preset, convert a short sample, and listen to it before processing the full video.
Do not expect a higher MP3 bitrate to restore quality that was not present in the source. If the audio in the video was already compressed, exporting it at a very high bitrate may only create a larger file. For the clearest result, use the best source recording you have and avoid converting the same audio through several lossy formats.
If your converter includes sample-rate or channel settings, keeping the original values is a sensible default. Mono can be suitable for speech recorded on one microphone. Stereo may be preferable for music or a recording with sound placed across left and right channels.
Check and Organize the MP3
After conversion, listen to the entire MP3 if the recording is important. At minimum, check the beginning, a section in the middle, and the end. Confirm that the audio is in sync with what you expect, that it has not been cut short, and that the volume is comfortable.
Use a descriptive filename and save the MP3 in a folder where you keep other audio files. If you plan to edit it, keep the original video and consider keeping an uncompressed or lossless working copy as well. You can then create a smaller MP3 version for everyday listening.
It is also helpful to note the source video and conversion settings. If you need to make another copy later, you will know which file you used and can repeat or adjust the process.
Common Problems and Fixes
The MP3 has no sound: check that the original video has an audio track and that the converter processed the correct file. Try playing the output in another audio player to rule out an app issue.
The audio sounds unclear: check the quality setting and try a higher-quality export. If the original video’s audio is already noisy or distorted, conversion alone will not repair it. Use an audio editor for careful cleanup if needed.
The file ends too early: confirm that the full video was selected and that no trim setting shortened the export. Convert the file again and preview the ending before saving.
The MP3 is too large: choose a moderate quality setting or remove sections you do not need. Compare the smaller output with the original to make sure it still sounds acceptable.
The converter rejects the file: check that the video finished downloading and can play on your device. If it is incomplete, download your own upload again or use the original video file.
Copyright and Permission
This guide is for videos you uploaded and have the right to use. Owning or managing a YouTube channel does not automatically give you permission to reuse every song, clip, or recording included in a video. A video may contain music, images, or other material licensed from someone else.
Before publishing or distributing the extracted MP3, check the rights for every part of the audio. A recording you created yourself is different from a video that includes copyrighted music or another person’s performance. Follow YouTube’s terms and the license or permission that applies to the content.
For personal use, keep the source and permission details where you can find them. If you plan to use the audio in another video, podcast, advertisement, or public project, make sure you have the required rights for that use.
Frequently Asked Questions
Can I convert any YouTube video to MP3 this way?
These steps are intended for videos you uploaded and are authorized to use. Download your own upload through YouTube’s available creator tools, or use the original video file you already have.
Will the MP3 sound exactly like my original video?
It depends on the source and conversion settings. Extracting an existing audio stream without re-encoding can avoid another compression step. Converting to MP3 may remove some audio information, and a YouTube Studio download may not match the original upload quality.
Why should I use my original video file?
The original may have higher resolution or audio quality than the copy available through YouTube Studio. Using the best source you have can help preserve more detail in the final audio.
Is MP3 the best format for editing?
MP3 is convenient for listening and sharing, but it uses lossy compression. For editing, WAV or FLAC may be preferable if your audio software supports them and you want to avoid additional lossy compression.
Can I extract only the music or speech?
A basic converter extracts the audio track as it is. It does not necessarily separate music, speech, or background sounds. You may need an audio editor or specialized tool for sound separation, and results can vary.
Can I use a web converter?
Yes, if it supports your file and you are comfortable with its privacy and file-size policies. For personal or confidential recordings, an offline converter may be a better choice.
Final Checklist
To convert a YouTube video you own to MP3, use the original video file when possible. If you need to download the upload, use YouTube’s official creator tools. Then choose MP3 in a trusted converter, select a suitable quality setting, and listen to the finished file.
Keep the original video until you are satisfied with the audio. Before sharing or publishing the MP3, make sure you have the rights to use every sound in it. These steps help you create a clear, convenient audio file while respecting the content’s ownership.