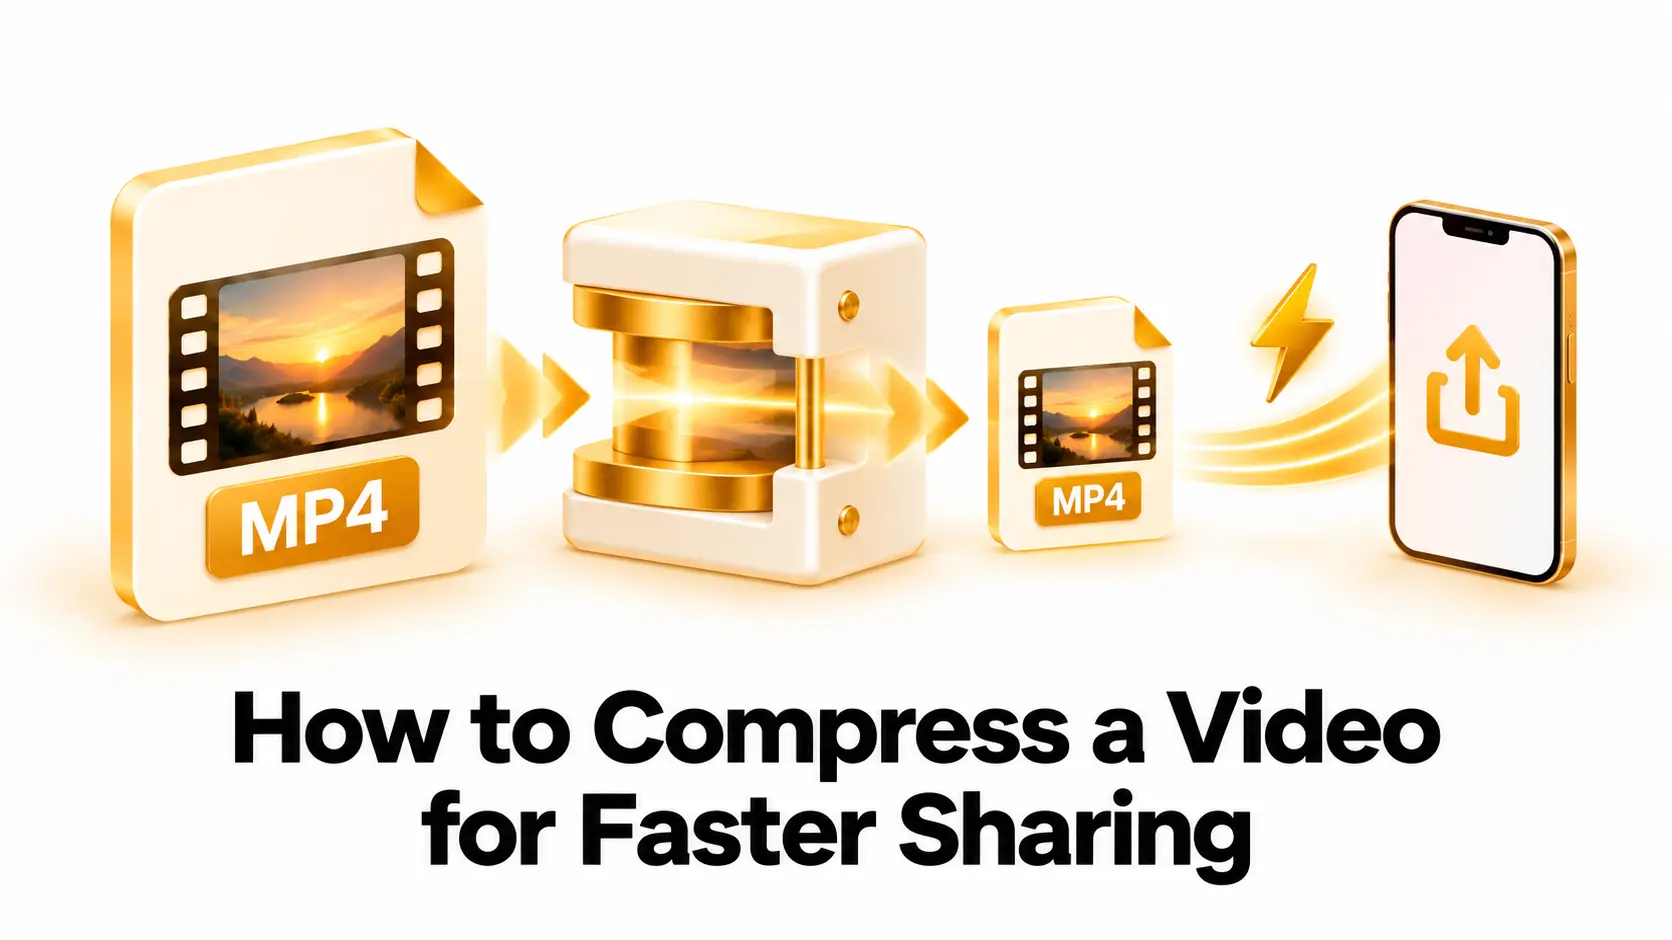
Large video files can take a long time to upload, send, or download. They may also exceed the size limits of email, messaging apps, or online platforms. Compressing a video reduces its file size, making it easier to share and store.
Compression works by reducing the amount of data used to represent video and audio. With the right settings, you can make a file smaller while keeping it clear enough for its intended use. The best choices depend on the original video, where you plan to share it, and how much quality you need to preserve.
This guide explains video compression in simple terms, compares the settings that affect file size, and shows how to compress a video step by step. It also covers ways to avoid blurry images, choppy motion, and poor sound.
What Does Video Compression Mean?
Video compression reduces the data needed to store or send a video. A video file contains many still images, called frames, along with audio and other information. Compression uses a codec to encode that media more efficiently. The codec is then used by a device or app to decode and play the video.
Some compression methods remove information that may be difficult to notice. This is called lossy compression. It can create much smaller files, but compressing too heavily may make details look soft or create blocks and smears. Other methods preserve more information, but they usually create larger files.
The size and quality of the finished video depend on the codec, bitrate, resolution, frame rate, and audio settings. Compression does not always mean that a video will look bad. A suitable export can reduce a file considerably while still looking clear on a phone, computer, or social media feed. Read more about the basic concept in Wikipedia’s overview of video compression.
What Affects Video File Size?
Before changing settings, it helps to know which ones have the biggest effect on file size. These factors work together, so there is no single setting that produces the ideal result for every video.
- Video length: longer videos generally require more data than shorter ones at the same settings.
- Resolution: higher resolutions contain more picture detail and often need more data. A 4K video is usually larger than a similar 1080p video.
- Bitrate: bitrate is the amount of data used each second. Lowering it can reduce file size, but lowering it too much can hurt visible quality.
- Codec: different codecs compress video in different ways. H.264 is widely supported, while newer codecs may create smaller files at similar visual quality on compatible devices.
- Frame rate: videos with more frames each second may use more data, especially if the bitrate is not adjusted.
- Audio: high-quality audio and multiple audio tracks can add to the total file size.
Complex scenes, such as fast movement, falling leaves, or water, can be harder to compress than a still interview with a plain background. This means two videos of the same length and resolution may end up with different file sizes.
Choose the Right Compression Settings
Select a suitable format and codec
For everyday sharing, MP4 with H.264 video and AAC audio is a practical starting point because many devices and websites support it. A newer codec may produce a smaller file at similar visual quality, but check that the people or platforms receiving the video can play it.
Keep an appropriate resolution
Choose a resolution that matches how the video will be watched. If most viewers will use phones, 1080p may be enough for many videos. For a small preview or a video sent in a chat, a lower resolution may be acceptable. Avoid exporting at a higher resolution than the source, because upscaling usually increases file size without restoring real detail.
Adjust bitrate or quality carefully
Bitrate is one of the main controls for file size. A lower bitrate generally creates a smaller file, while a higher bitrate preserves more visual information. Many converters offer a quality slider or constant-quality mode instead of asking you to choose a specific bitrate. If you are unfamiliar with the options, start with a medium or high quality preset and compare the result.
Preserve the frame rate when possible
Keep the source frame rate unless you have a clear reason to change it. Reducing it can make motion less smooth, especially in sports, action scenes, or screen recordings with fast cursor movement. A frame-rate change may help reduce size in some cases, but it should be tested before you compress the full video.
Use reasonable audio settings
Audio is part of the final file size. For spoken videos, podcasts, or tutorials, standard AAC audio settings are often sufficient. Avoid reducing audio quality too far, since voices may sound muffled or distorted. If a video contains several audio tracks, keep only the tracks you need when the converter provides that option.
Recommended Starting Settings
Use these as general starting points, then adjust them for your video and sharing destination. Platform upload requirements may change, so check the current recommendations for the service you plan to use.
| Setting | Starting choice | When to adjust it |
|---|---|---|
| Format | MP4 | Use another format if the recipient or editing workflow requires it. |
| Video codec | H.264 | Try a newer codec only if the target devices support it. |
| Resolution | Match the source or choose 1080p for many sharing uses | Lower it for small previews or strict upload limits. |
| Frame rate | Match the source | Change it only if smaller size matters more than smooth motion. |
| Quality | Medium to high | Test a short section before lowering quality further. |
| Audio | AAC at a standard quality setting | Adjust if the video is music-focused or has several audio tracks. |
There is no universal bitrate that will look perfect for every video. A fast-moving scene may need more data than a static talking-head clip. If your converter allows a short test export, use a section that includes movement, shadows, fine details, and speech. Watch and listen to it before compressing the entire video.
How to Compress a Video Step by Step
- Keep the original video. Make a copy or save the source in a safe location. You can return to it if you want to try different settings.
- Choose a trusted compression tool. Use a reputable desktop program or an online tool. For a browser-based option, visit Convertig and select the relevant video compression tool if available.
- Add the video you want to compress. Confirm that you selected the correct file and check its current size and duration.
- Choose an output format. MP4 is a common choice for everyday sharing. Select a codec that is supported by the device or platform that will receive the file.
- Set the resolution and quality. Keep the original resolution if it is already suitable. Use a moderate quality setting first, and avoid extreme compression.
- Review the audio and frame-rate options. Keep the original frame rate when possible and make sure the sound remains clear and in sync.
- Run a short test if available. Check a representative section for blurry details, blocky patches, rough motion, or audio problems.
- Start the compression. The processing time depends on the video length, file size, computer or service, and selected settings.
- Check the finished file. Play the output and confirm that it looks and sounds right. Check its size and test it on the device or app where you plan to share it.
How to Keep the Video Looking Clear
Start with the best source available. Compression cannot restore details that are missing from a low-quality original. Use the camera file or the best-quality export you have, rather than compressing a copy that has already been reduced several times.
Make one careful export. Repeatedly compressing the same video can reduce quality with each lossy export. Keep the original as your master and make the compressed version from it. If the first result is too large, return to the original and adjust the settings there.
Lower settings gradually. Reduce resolution or bitrate in small steps and compare the output. This helps you find a useful balance between file size and appearance without making a bigger quality cut than necessary.
Check more than the first frame. Some compression problems appear only during motion or in dark scenes. Preview several parts of the video, including a scene with fast movement, a shadow, and any fine text or detail.
Think about the screen size. A video watched on a small phone screen may not need the same settings as one shown on a large display. Choose a level of detail that fits the way viewers will watch it.
Save a new copy. Give the compressed file a different name from the original. This makes it easier to identify the smaller shareable version and helps prevent accidentally replacing your source video.
Common Video Compression Mistakes
Reducing the bitrate too much: this may create blocky areas, smearing during movement, and lost detail. A smaller file is not useful if viewers cannot see important information.
Reducing resolution without checking the destination: a low-resolution video may look fine in a small message preview but appear soft when viewed full screen. Match the resolution to how the video will be used.
Changing the file extension instead of converting: renaming a file from one extension to another does not change its format or reduce its size. Use a converter that actually processes the video.
Using an unfamiliar codec without checking support: a highly efficient codec may create a small file, but it can cause playback problems on older devices or apps. Choose compatibility when you do not know what the recipient can play.
Ignoring audio quality: compressed video can still have poor sound. Listen to voices, music, and background audio after the export, especially if the video is meant for a presentation or tutorial.
Frequently Asked Questions
Does compressing a video always reduce quality?
Not always. Some methods can reduce file size with little visible change, especially when the original has room for more efficient encoding. Strong lossy compression can reduce quality, so check the result before sharing.
What is a good format for sharing a compressed video?
MP4 with H.264 video and AAC audio is a practical choice for many everyday sharing situations because it is widely supported. Check the recipient’s device or platform requirements if compatibility is important.
Will changing resolution make a video smaller?
Usually, lowering the resolution reduces the amount of picture data and can make the file smaller. It also reduces visible detail, so choose a resolution that still looks clear on the screen where the video will be viewed.
Why is my compressed video still large?
The video may be long, high-resolution, or full of motion and detail. The converter may also be using a high bitrate or a quality setting that prioritizes appearance. Try a short test with a lower setting, or trim unnecessary footage.
Can I compress a video without installing software?
Yes. Some browser-based tools let you upload and compress a video online. Check file-size limits, supported formats, and privacy information before uploading, particularly for personal or confidential recordings.
Should I delete the original after compression?
Keep the original until you have checked the compressed version and are sure you no longer need the source. The original gives you the option to export again with different settings later.
Final Checklist
To compress a video for faster sharing, keep the original file, choose a compatible format, and adjust resolution or bitrate gradually. Preserve the frame rate when possible, use sensible audio settings, and test a sample before compressing the full video. Then play the finished file and check that it works on the device or platform where it will be shared.
The best compression setting is the one that makes the file convenient to send while keeping enough detail for its intended use. A few careful checks can save upload time and storage without making the video difficult to watch.